Wood Boat Repairs
Papoose Boom Project
Not knowing the rules we went inside Anita Rock Buoy to grab the favorable current. This was pointed out to us by another boat. Ignoring the advice of my lawyer, I gybed to go and undo the string. Unfortunately, we did a few things wrong in the process. We left the preventer on and pulled in on the mainsheet. This resulted in a loud noise after which the bottom 6 feet of the boom sat on deck. We retired from the race at that point. The photos below show the rebuild of the boom. Basically, I scarfed in several sections of spruce using 12:1 joints. The joint was cut with a router on a fixture of wedges made out of 2x4s. Enjoy.

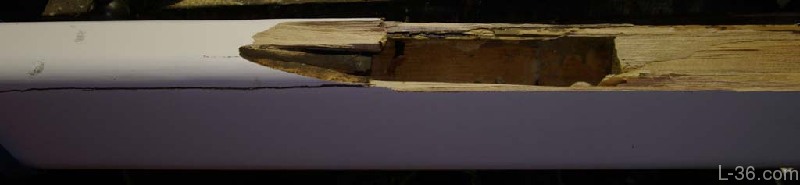
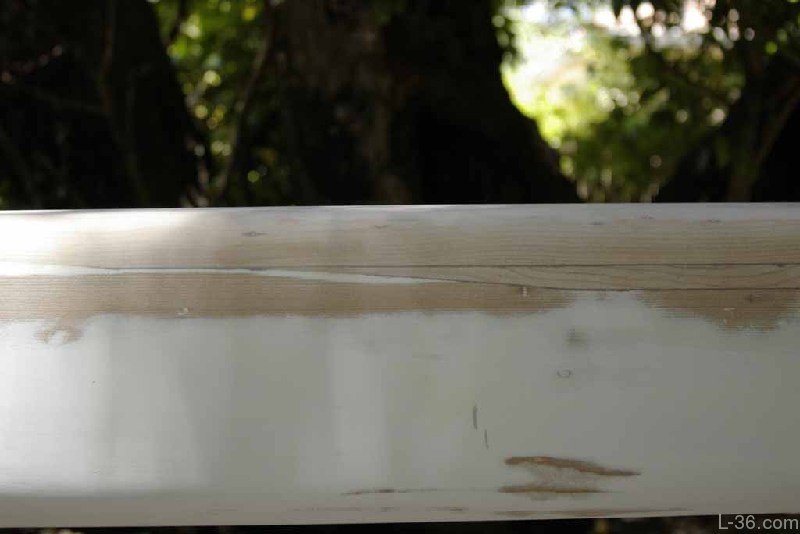
Here is the damage

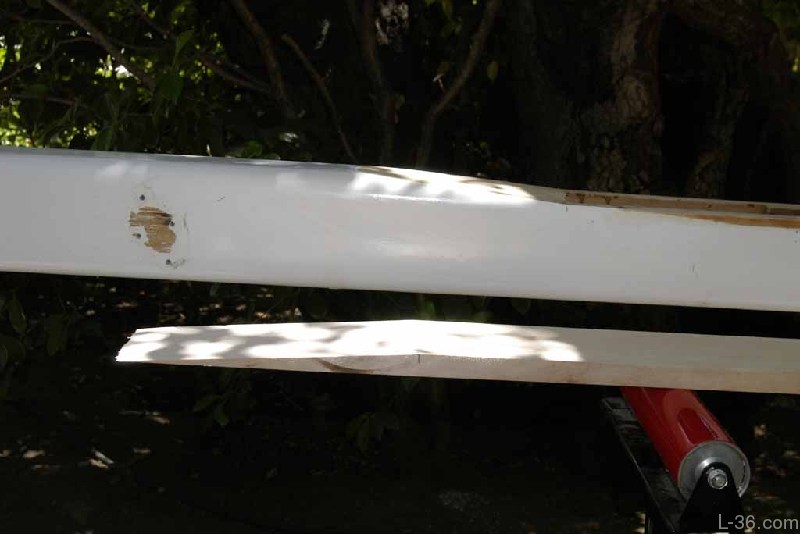
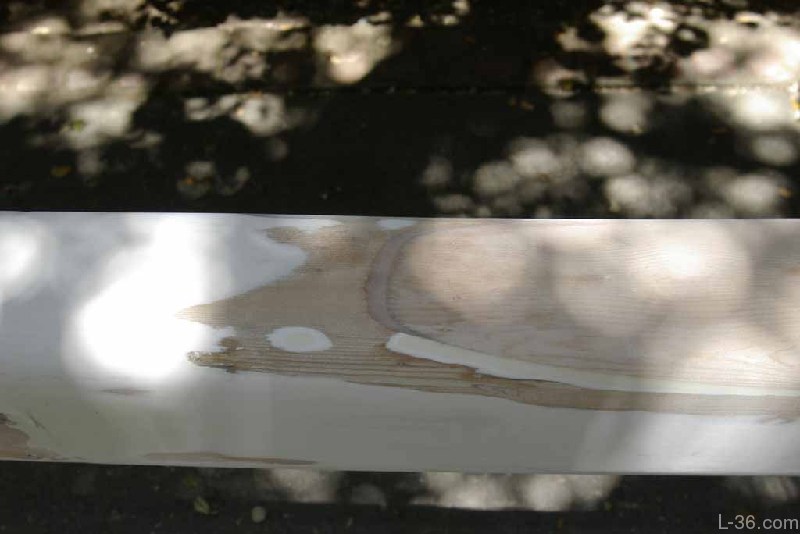
A little closer view of damage
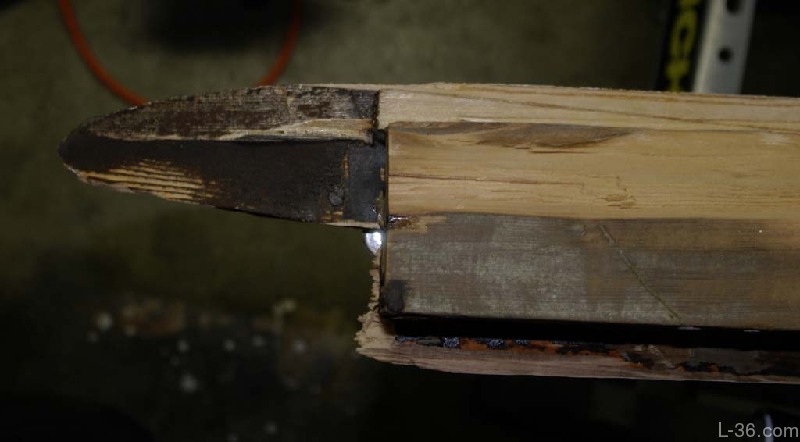
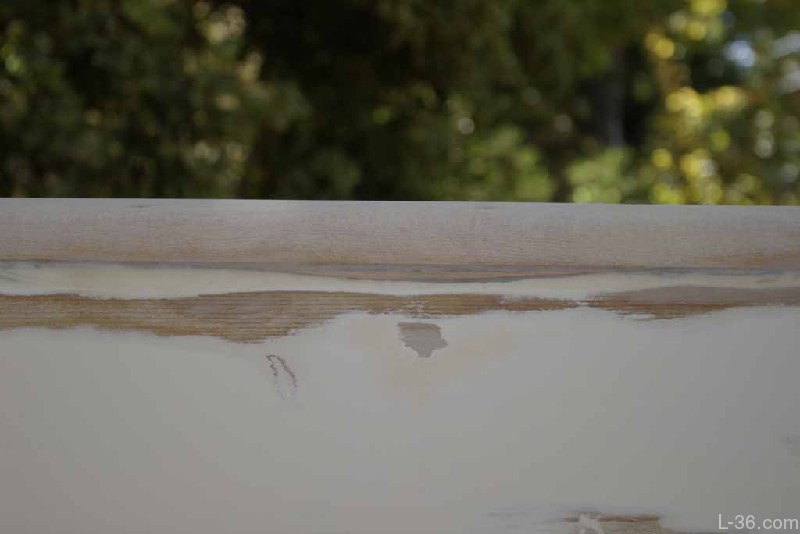
Site of Vang attachment. Noticed how it missed the main blocking

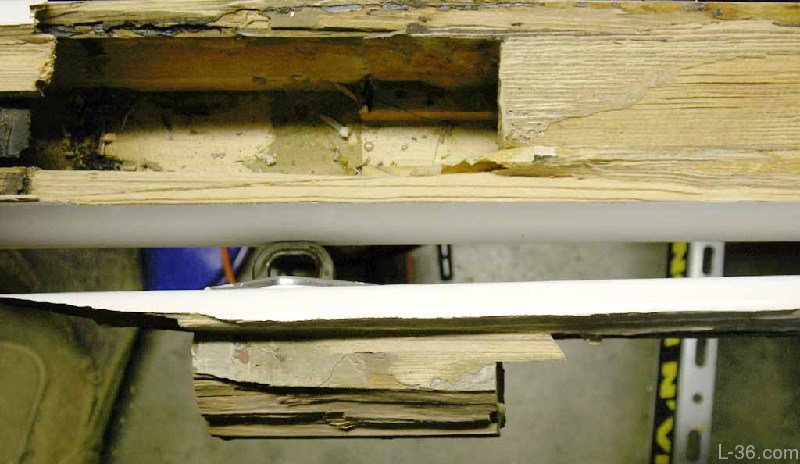
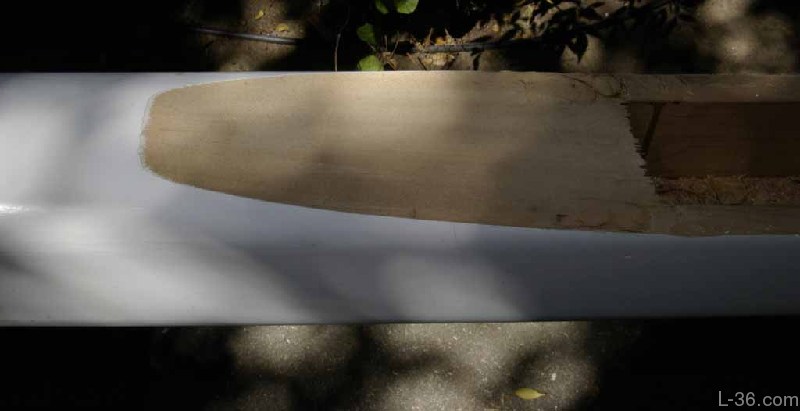
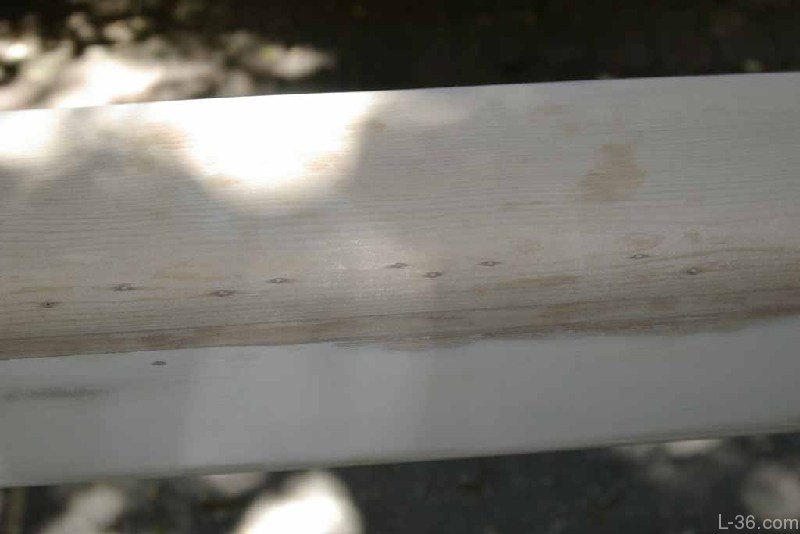
Foward extent of crack
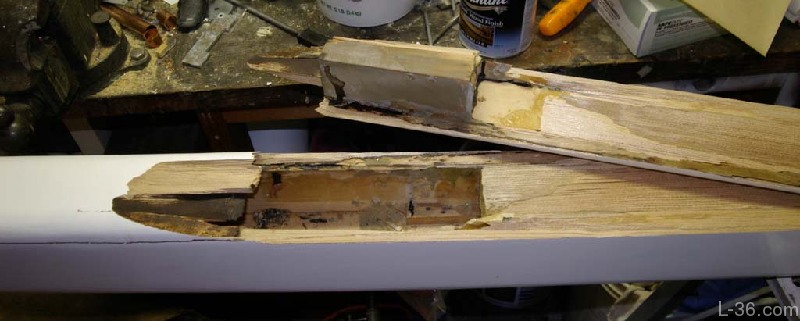
Matching piece ripped out and boom
The Vang itself

Close up
Close up of both pieces
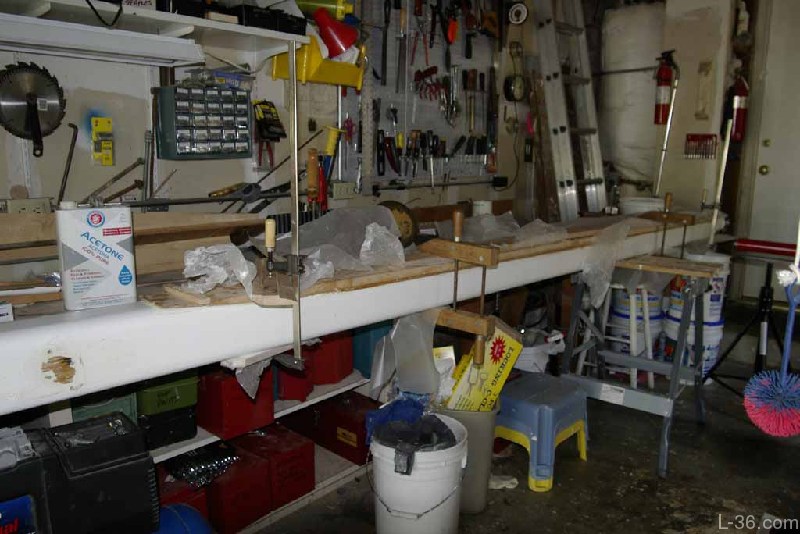
And the repair begins.
Scarf in boom awaiting the new piece. This scarf was cut with a router passing back and forth over the boom. I made a guide out of 2x4's that had the 12:1 slope. I then used the same guide to cut the fresh piece so they would match. The router had a long base screwed to it so that it would rest on the guide rails as it was moved back across the wood to be cut.
The new piece ready to glue in
Everything glued and clamped. I didn't have enough clamps so I nailed the joint. I pulled the nails after the glue dried. I should have used better nails as they broke when pulling and had to be dug out. Actually, I should have used more clamps.
View of 3 main pieces in finished shape
View at aft end of assembly
Top view of aft joint
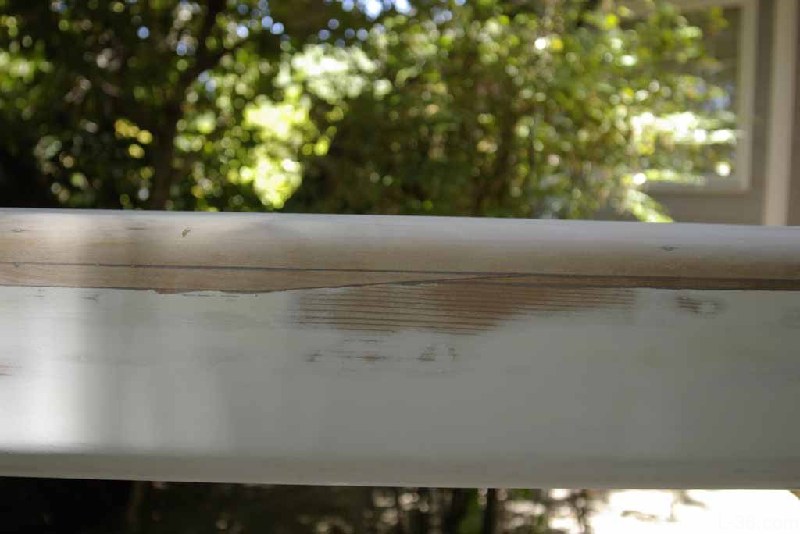
Nail holes sealed
Small piece inserted

Forward end

Waiting for the paint to dry -- done
Here is the damage
A little closer view of damage
Site of Vang attachment. Noticed how it missed the main blocking
Foward extent of crack
Matching piece ripped out and boom
The Vang itself
Close up
Close up of both pieces
And the repair begins.
Scarf in boom awaiting the new piece. This scarf was cut with a router passing back and forth over the boom. I made a guide out of 2x4's that had the 12:1 slope. I then used the same guide to cut the fresh piece so they would match. The router had a long base screwed to it so that it would rest on the guide rails as it was moved back across the wood to be cut.
The new piece ready to glue in
Everything glued and clamped. I didn't have enough clamps so I nailed the joint. I pulled the nails after the glue dried. I should have used better nails as they broke when pulling and had to be dug out. Actually, I should have used more clamps.
View of 3 main pieces in finished shape
View at aft end of assembly
Top view of aft joint
Nail holes sealed
Small piece inserted
Forward end
Waiting for the paint to dry -- done
NOTICE: Some pages have affiliate links to Amazon. As an Amazon Associate, I earn from qualifying purchases. Please read website Cookie, Privacy, and Disclamers by clicking HERE. To contact me click HERE. For my YouTube page click HERE