How to make a Brummel Eye Splice
By Allen Edwards
Index
This "Howto" shows how to make an eye splice in class 2 12 strand braid without having to bring the far end of the rope through the splice. This is particurally handy when putting the eye in a halyard where the halyard is already going up the mast. This method, called the McDonaly after Brion Toss's illustrator who discovered it, it a very easy way to make this splice and significantly easier than either the Samson or New England methods.
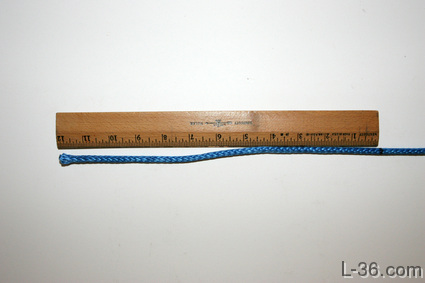 First measure off the tail. This will be buried. Various sources suggest using beteeen 50 and 72 diameters. Perhaps your choice depends on your applications. Interested in ultimate strength, use 72. Interested in only the stretch and strength isn't an issue, use 50. I used 12 inches on a 3/16 Amsteel line or 64 diameters. Make a mark all around the line.
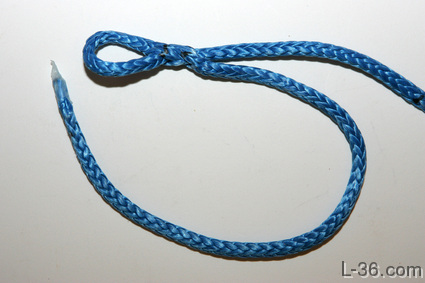
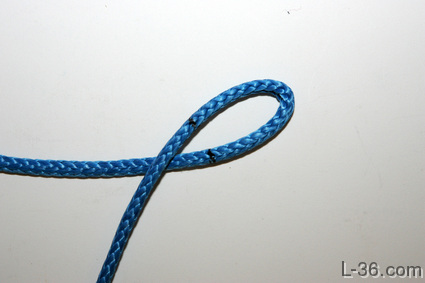 Next mark the eye that you want. The finished eye may be smaller than you think. For example, this eye uses 4 inches of line but the finished eye has an inside diameter of 3/4 inch.
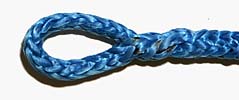
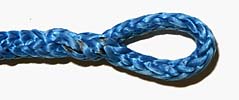
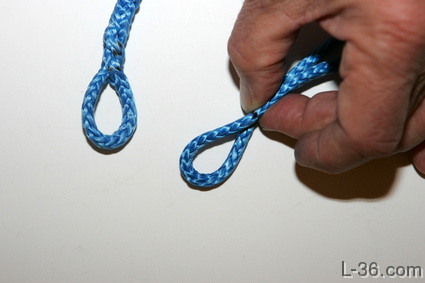 Here I pinch the two marks together and you can see that it compares well with the finished splice using the same spacing.
 Pass your dull pick through the center of the braid. Make sure you have 6 strands on each side of your pick. I find this the most difficult part of the entire splice but if you get really good at it, this becomes the easiest part. I use a magnifying glass and count the strands. Wrap some tape around the working end tip. Let the tape extend beyond the end a bit and form it into a little spike. This will be all you need as a fid for threading this first part of the Brummel splice.
 Thread the working end through the opening you made with your dull pick.
 Bring the second mark through the opening.
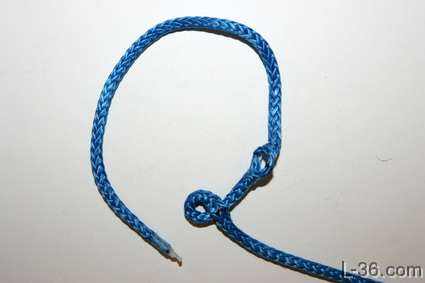
 Now poke your dull pick through the center of the other mark.
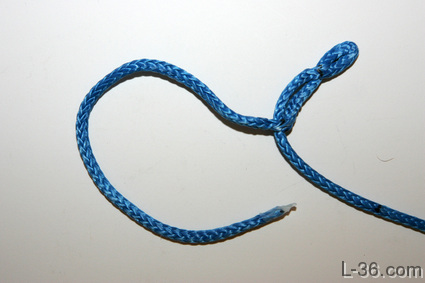
 And bring the end through the opening. Make sure to go through in the correct direction or it will totally mess up the splice later.
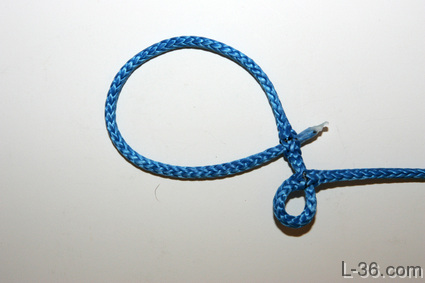
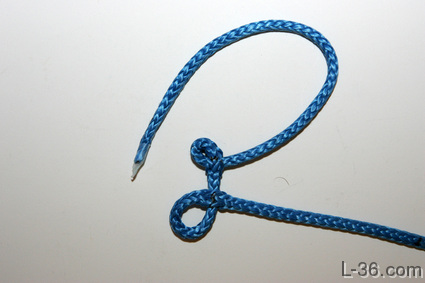 Just make sure you are making a pair of Mickey Mouse ears and not a figure eight.
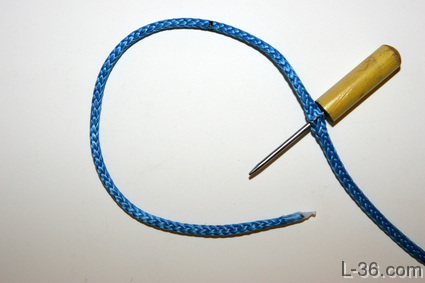
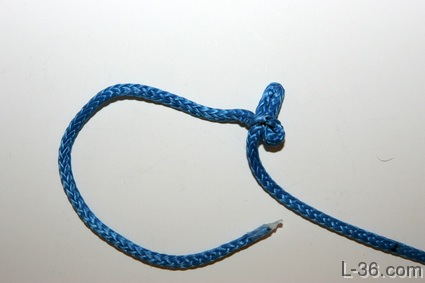
 Here is the tirck. Pull this line all the way through the opening so that the line reverses itself and you have just a hole, not a loop.
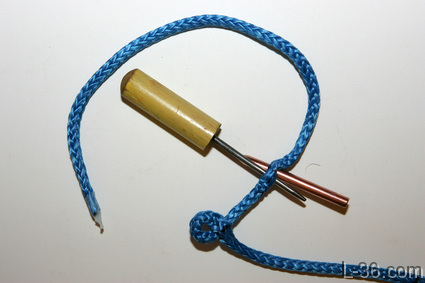 We want this hole to be large so put your fid and pick through and work them against each other to enlarge the hole.
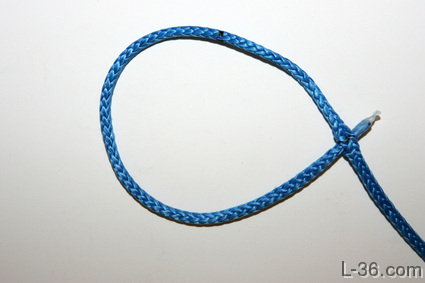
 Here you can see the nice large hole we have made.
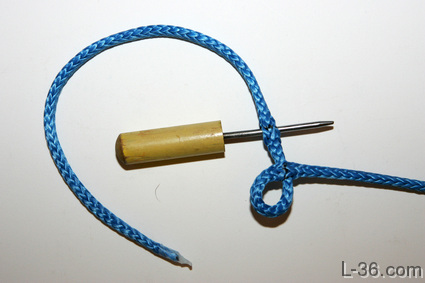
 Now we pass the remaining loop through the large hole we just made.
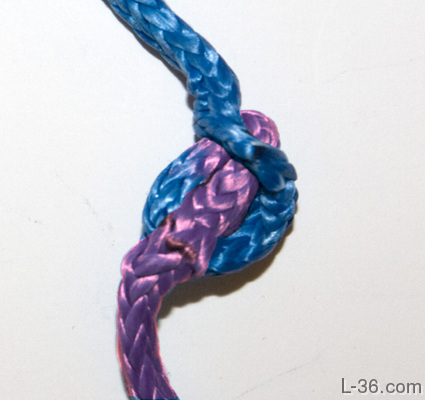 Here is a close up with a little magic applied to make it easier to see what is going on. What we are doing is passing the eye through the hole we made in the line.
 Keep passing the eye through the hole.
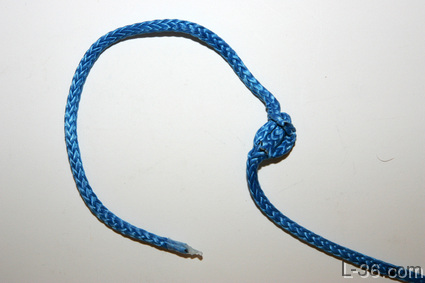
 Pass it all the way through and then real magic happens. The hole we made earlier, and just passed the eye through, just reversed itself so that it is no longer inside out and we have a brummel
 Pull the ends to close up the Brummel and we are ready to go to the next section and bury the tail.
To go to next section, CLICK HERE
Pull the ends to close up the Brummel and we are ready to go to the next section and bury the tail.
To go to next section, CLICK HERE
NOTICE: Some pages have affiliate links to Amazon. As an Amazon Associate, I earn from qualifying purchases.
Please read website Cookie, Privacy, and Disclamers by clicking HERE.
To contact me click HERE. For my YouTube page click HERE